
نقد و بررسی
- ولتاژ کاری:5 تا 7 ولت دی سی
- ولتاژ توصیه شده:5 ولت دی سی
- جریان مصرفی:11 میلی آمپر
- سنسور:GP2Y1010AU0F
- تعداد پایه ها:6 عدد
- دمای کاری:منفی 10 تا 65 درجه سانتی گراد
- ولتاژ در حالت عادی:0.9 ولت دی سی
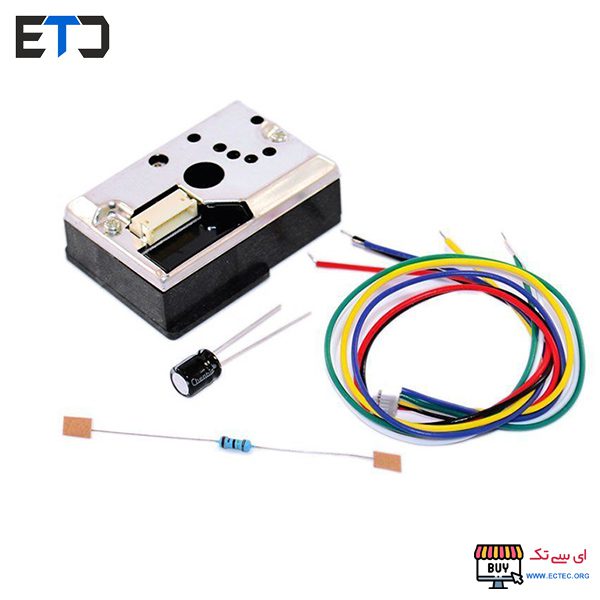
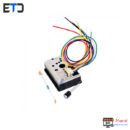
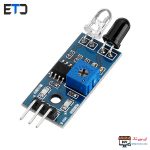
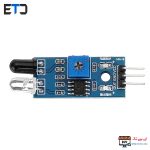
ماژول تشخیص گرد و غبار GP2Y1010AU0F
ماژول گرد و غبار که از سنسور GP2Y1010AU0F بهره میبرد.این سنسور بسیار دقیق بوده و توانایی تشخیص حتی دود سیگار را هم دارا می باشد.از این ماژول نیز جهت استفاده در سیستم هوشمند خانه همچنین سیستم تصفیه هوا استفاده کرد.این سنسور بر اساس سیستم مادون قرمز و آلتراسونیک کار می کند.

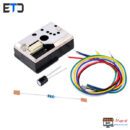
ماژول تشخیص گرد و غبار Optical Dust Sensor GP2Y1010
ویژگی های سنسور گرد و غبار GP2Y1010AU0F:
- ولتاژ کاری:5 تا 7 ولت دی سی
- ولتاژ توصیه شده:5 ولت دی سی
- جریان مصرفی:11 میلی آمپر
- سنسور:GP2Y1010AU0F
- تعداد پایه ها:6 عدد
- دمای کاری:منفی 10 تا 65 درجه سانتی گراد
- ولتاژ در حالت عادی:0.9 ولت دی سی
- حساسیت بالا
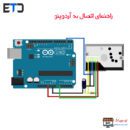
این سنسور دیجیتال بوده و توانایی راه اندازی با ماژول های آردوینو و میکروکنترلر ها را دارا می باشد.
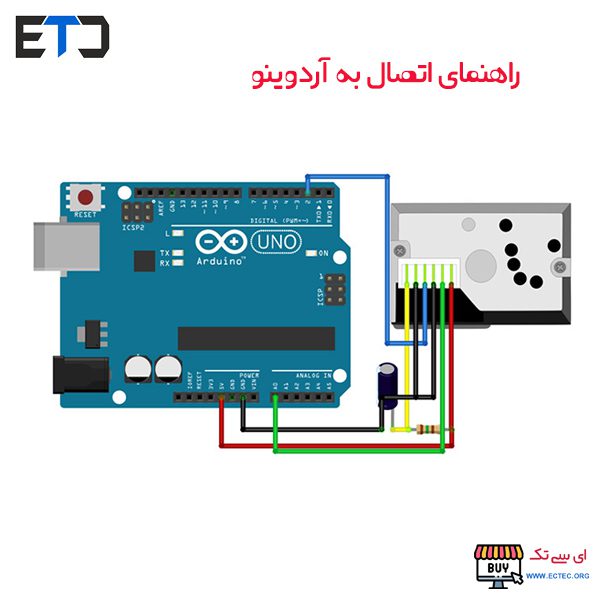
ترتیب پایه ها:

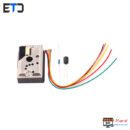
سنسور گرد و غبار GP2Y1010AU0F
Pins Assignments:
| Sharp Dust Sensor | Attached To |
|---|---|
| 1 (V-LED) | 3.3V Pin (150 Ohm in between) |
| 2 (LED-GND) | GND Pin |
| 3 (LED) | Digital Pin 12 |
| 4 (S-GND) | GND Pin |
| 5 (Vo) | Analog Pin A6 |
| 6 (Vcc) | 3.3V Pin (Direct) |
More info
Overview:
The Sharp Optical Dust Sensor (GP2Y1010AU0F) is especially effective in detecting very fine particles like cigarette smoke, and is commonly used in air purifier systems.
An infrared emitting diode and a phototransistor are diagonally arranged into this device, to allow it to detect the reflected light of dust in air.
The sensor has a very low current consumption (20mA max, 11mA typical), and can be powered with up to 7VDC. The output of the sensor is an analog voltage proportional to the measured dust density, with a sensitivity of 0.5V/0.1mg/m3.
ماژول تشخیص گرد و غبار Optical Dust Sensor GP2Y1010
For your convenience, ITEAD ship this sensor with a 6-pin, 1.5mm pitch mating connector and cable.
Specifications:
- Supply voltage: 5-7V
- Operating temperature: -10 – 65 Celsius degree
- Consumption current: 20mA max
1. How to interpret the output signal
In the figure below taken from the datasheet, you can see that the Dust density grows linearly with respect to the output voltage (Vo).
In line 52 of the code, we implemented the formula of the linear regression that approximatively follows this curve (courtesy of Chris Nafis).
This will allow us to map output voltages to Dust densities in mg/m³.
Linear range of the Sharp sensor
In addition, on an Arduino, any analog pin will map voltages between integer values from 0-1023 which can be mapped back to a “real” voltage value.
For the Fio, we therefore multiply the analog reading by 3.3/1024.0 and for the Uno, you will want to multiply the reading by 5.0/1024.0.
Important:
Be sure to add the trailing zero in these calculations, because if you do not put at least one, you will end up with a nasty bug where all your results will be 0. (Hint: integer division in C)
2. Sampling times
According to the datasheet, we need to switch on the internal LED and wait for 280 µs (microsecond) before measuring the output signal and the duration of the whole excitation pulse should be 320 µs.
We therefore pause for another 40 µs before switching off the LED again.
Pulse-driven wave form
Sampling strategy
Conclusion:
The sensor seems to be quite sensitive and shows relatively consistent results. We suggest to define some ranges that define your air quality, eg from 0.5V-1V Good, 1V-1.5V Poor etc… but it is up to you to define this scale.
We suggest getting a baseline in an as clean as possible environment and simulate the maximum by inserting (carefully) a pen filling the whole hole. With the boundaries you can discreetly map the values in between to your preference.
An annoying part is that we cannot reach the maximum using the 3.3V input on the Arduino Fio and had to use the Arduino Uno to reach what was written in the datasheet. We will update this post once we get our hands on a 3.3V-5V logic converter.
0دیدگاه