نقد و بررسی
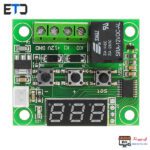
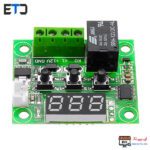
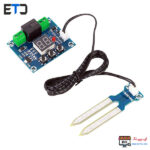
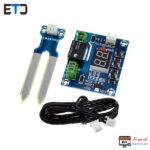
ماژول ترموستات دیجیتال XH-W1219 با نمایشگر- ولتاژ کاری:12 ولت دی سی DC
- جریان قابل تحمل رله: 10 آمپر
- نوع سنسور: مقاومت NTC
- بازه اندازه گیری دما: از منفی 50 تا مثبت 110 درجه سانتی گراد
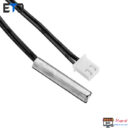
- سنسور اندازه گیری دما ضد آب
- اهم سنسور دما: 10 کیلو اهم
- زمان تاخیر: 1 میلی ثانیه
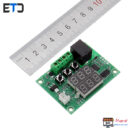
- سایز: 60 در 43 در 16 میلی متر
- نوع سنسور: NTC
ماژول ترموستات دیجیتال XH-W1219 با نمایشگر
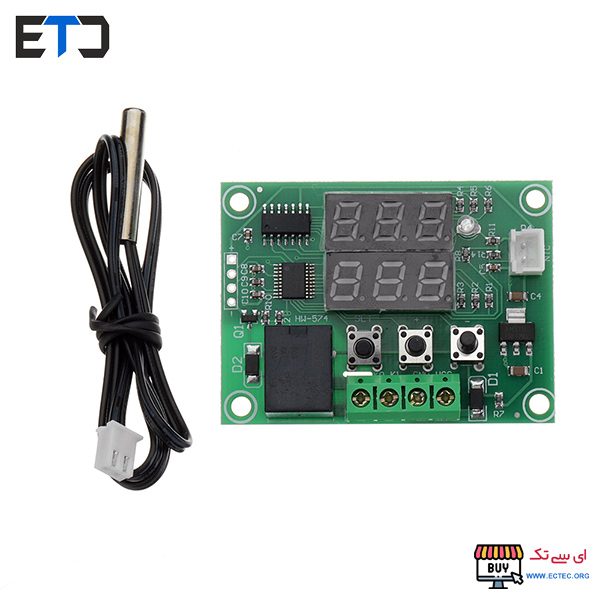
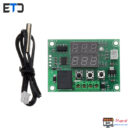
ماژول w1219 یک ماژول دماسنج دو نمایشگره با دکمه های کنترلی تمام عیار با ولتاژ کاری 12 ولت دی سی و رله 10 آمپر با کارایی بالا و قیمت مناسب بوده که برای سنجش دما استفاده می شود.
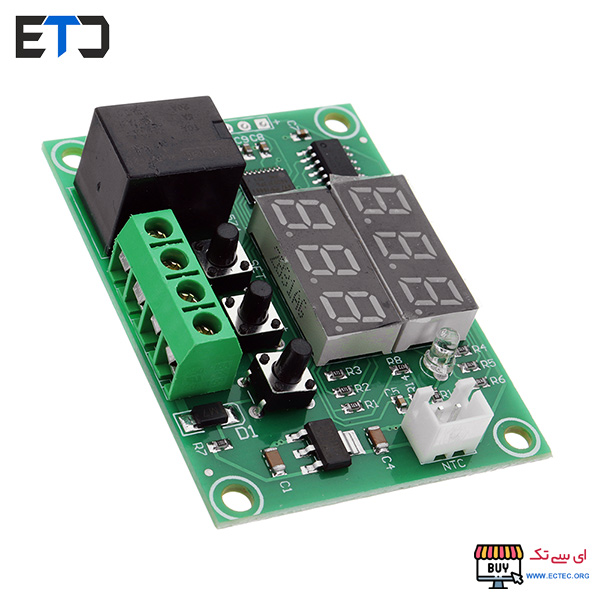
ماژول ترموستات دیجیتال XH-W1219 با نمایشگر
ولتاژ کاری این ماژول 12 ولت بوده که از طریق باتری یا آداپتور قابل تامین هست.غلاف فلزی موجود بر روی ماژول 1219 نیز تا عمق 0.5 متر ضد آب می باشد.
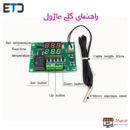
نحوه ست کردن ماژول ترموستات دیجیتال XH-W1219 با نمایشگر:
دکمه ست را چند ثانیه فشار دهید تا وارد منو ست کردن شوید:
P0:تعین مد کاری سرما یا گرما.
P1:تنظیم حساسیت یا هیستریسیس یعنی با چند درجه تغییر فعال شود.(این عدد با دما جمع بسته شده)
P2:حد بالای دما که باید کمتر از 110 درجه باشد.
P3:حد پایین دما که باید کمتر از منفی 55 باشد.
P4:کالیبره کردن خود ماژول که از ویژگی های مهم این ماژول هست
P5:زمان تاخیر قطع رله(یعنی با گذشت این مقدار،اگر رله فعال باشد قطع می شود.)
P6:حالت اخطار دما که با تنظیم کردن آن آلارم روشن می شود.
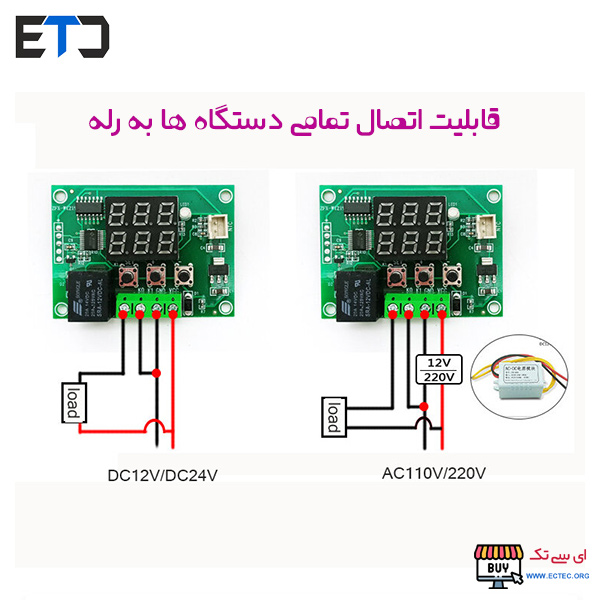
ماژول ترموستات دیجیتال XH-W1219 با نمایشگر
ویژگی ها ماژول ترموستات دیجیتال XH-W1219 با نمایشگر:
- ولتاژ کاری:12 ولت دی سی DC
- جریان قابل تحمل رله: 10 آمپر
- نوع سنسور: مقاومت NTC
- بازه اندازه گیری دما: از منفی 50 تا مثبت 110 درجه سانتی گراد
- سنسور اندازه گیری دما ضد آب
- اهم سنسور دما: 10 کیلو اهم
- زمان تاخیر: 1 میلی ثانیه
- سایز: 60 در 43 در 16 میلی متر
- نوع سنسور: NTC
- جریان استاتیک: 35 میلی آمپر
XH-W1219 DC 12V Dual Display Digital Temperature Controller High Accuracy Temperature Control Switch
Parameter:
Model: XH-W1219
Control range: -50°C to 110°C
Control accuracy: 0.1°C
Measurement input: NTC10K waterproof sensor L=0.5M
High temperature alarm: -49°C to 110°C
Input voltage: DC 12V
Output type: relay output up to 10A
Return difference setting: 0.1°C to 30°C
Delayed start: 0-10 minutes
Temperature correction: -10°C to +10°C
Size: 60*43*16mm (length*width*height)
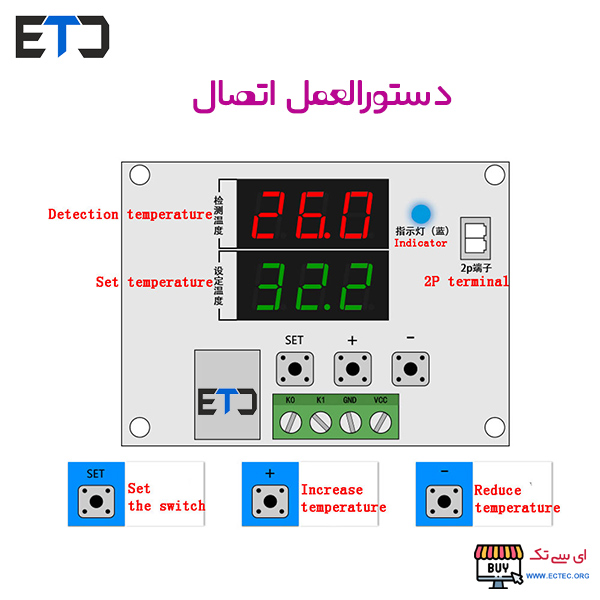
ماژول ترموستات دیجیتال XH-W1219 با نمایشگر
How to restore factory settings:
Under normal power, press and hold the + and – key for about three seconds to restore factory settings.
1. PO temperature control mode:
This value must be set when the thermostat is used for the first time. If it is used for heating, it must be set to H. If it is used for cooling, it should be set to C.
2. P1 difference setting:
Press the SET button for a long time to enter the internal settings, select the P1 setting, and then press the SET button again to set the hysteresis value. (The hysteresis is the difference needed when the thermostat reaches the set temperature and stops working again.)
3. P2 temperature calibration:
This function is used for temperature calibration. If there is a deviation between the detected temperature and the actual temperature, this function can be used to correct. The corrected value = measured value + correction value. (If you do not control the compressor or do not need delay function, skip this item directly)
4. P4 high temperature alarm:
Set the high temperature alarm value. When the real-time temperature exceeds this value, the screen will flash warning alarm.
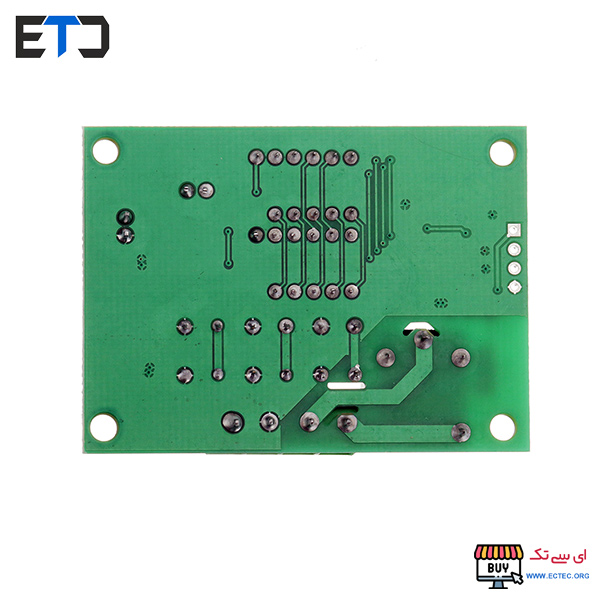
ماژول ترموستات دیجیتال XH-W1219 با نمایشگر
Package included:
1 X XH-W1219 dual display digital temperature controller
Instructions:
1. Please pay attention for your first use. You need wait 6s after your setting data, the module will save the date you have set after 6s.
2. Short press button SET: If you start the time setting mode , Nixie tube will blink. You could adjust the time T1 and T2 by button+ and button-. Please wait 5s after your setting date, the module will save the date you have set after 5s
3. Long press button SET: if you start the parameter setting mode. There are two group parameter for your choice : P0 and P1. You could switch P0 or P1 by short press SET. Under the parameter P0 and P1,you could set the timing mode by the button+ and button-.
P0–0: timing mode is 0–999 seconds
P0–1: timing mode is 0–999 minutes
P0–2: timing when the pattern is 0–999
P1–0: T1 time delay relay (T1 timer)
P1–1: T1 delay time relay releases (T1 timer)
P1–2: time delay relay after T1 (T1 timer), then the delay time T2 successor electrical release (T2 timing) ends.
P1–3: T1 delay time relay releases (T1 timer), then the delay time T2 successor Electric energized (T2 timing) ends.
P1–4: time delay relay after T1 (T1 timer), then the delay time T2 successor electrical release (T2 timer), repeat the cycle.
P1–5: T1 delay time relay releases (T1 timer), then the delay time T2 successor Electric energized (T2 timer), repeat the cycle.
1. Restore factory settings: After power on, press and hold the up and down keys on the right side at the same time for more than 3 seconds, it will show that 888 is restored to the factory successfully
2. The screen displays LLL, indicating that the probe line is abnormal, reinstall or replace it with a new one
3. The screen displays HHH, indicating that the probe is short-circuited or over-temperature






0دیدگاه